
I suppose it's time to catalog my build. This is the car I always wanted, a Dark Cherry '96 Impala SS. But how I got it was pretty interesting too.
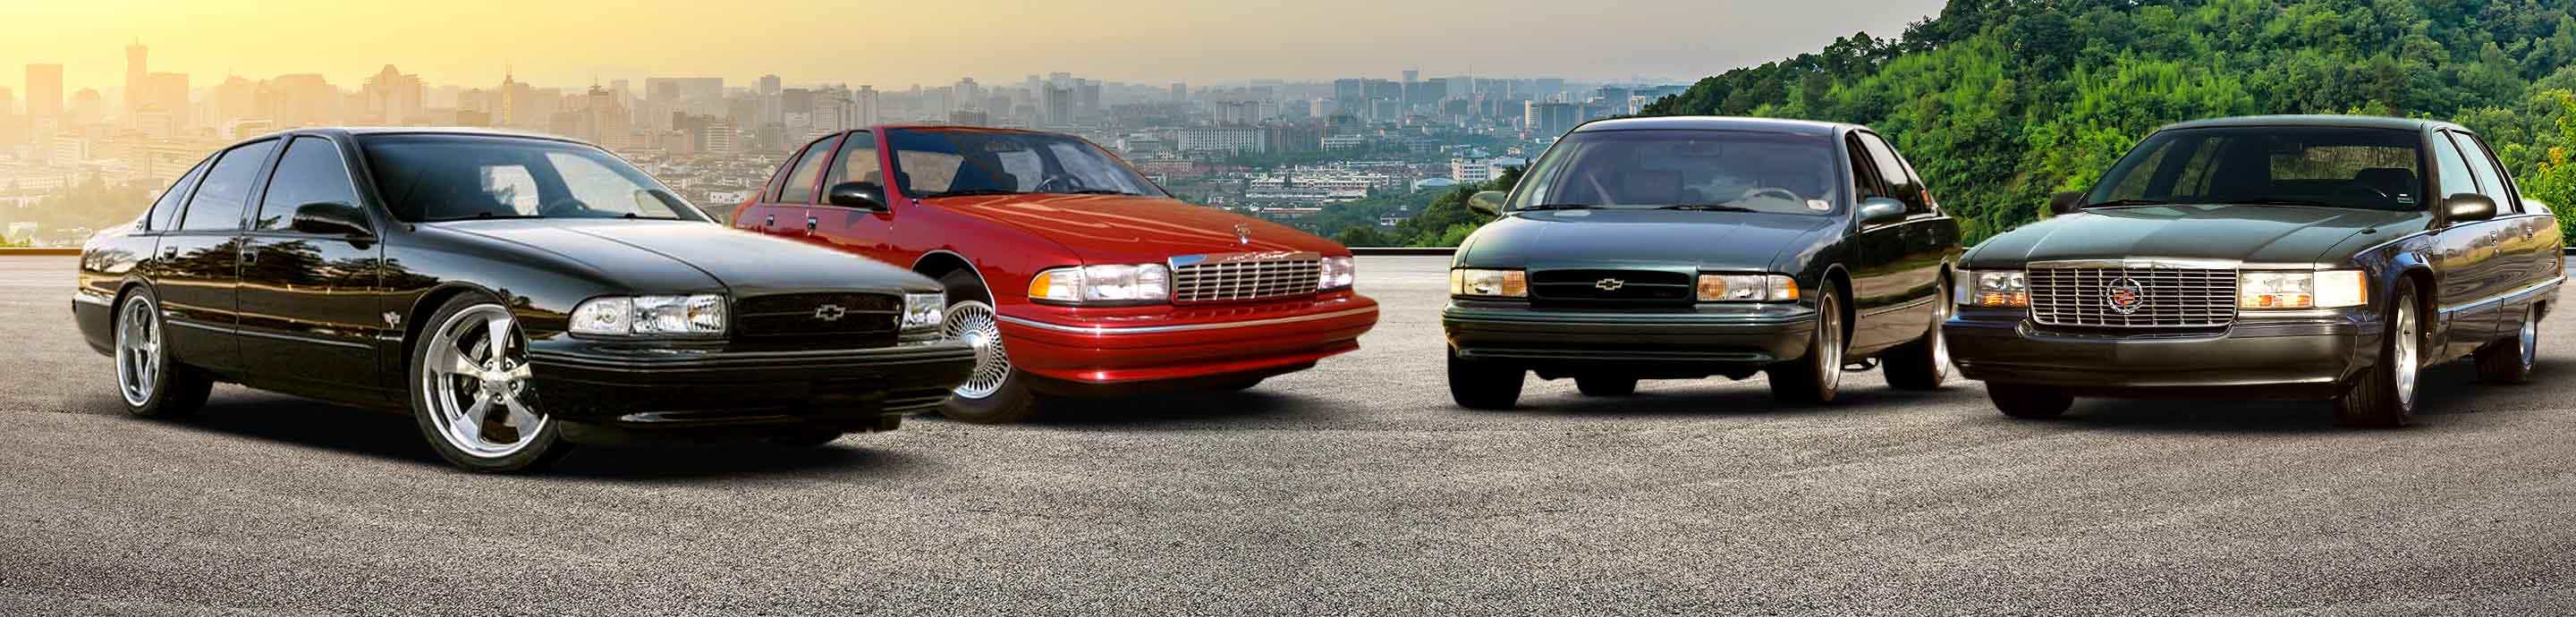
I owned my gold 9C1 from 2004 to 2014, and had a bunch of Roadmaster wagons as well. Around 2012 my dad purchased a Dark Cherry '96 Impala . He always loved a good deal, and the seller was nice, but what he got needed a lot more work than he bargained for. It didn't run when he got it, and everything was worn out, with 167,000 miles on it. This picture is after we did a lot of work on the paint. The wheels have chameleon paint; the light angle makes them look mismatched but normally they're DCM.

I owned my gold 9C1 from 2004 to 2014, and had a bunch of Roadmaster wagons as well. Around 2012 my dad purchased a Dark Cherry '96 Impala . He always loved a good deal, and the seller was nice, but what he got needed a lot more work than he bargained for. It didn't run when he got it, and everything was worn out, with 167,000 miles on it. This picture is after we did a lot of work on the paint. The wheels have chameleon paint; the light angle makes them look mismatched but normally they're DCM.
")


