Chevy Impala SS Forum banner

Jegs long tube headers

9.5K views 31 replies 7 participants last post by  Fred Kiehl  
#1 · (Edited)
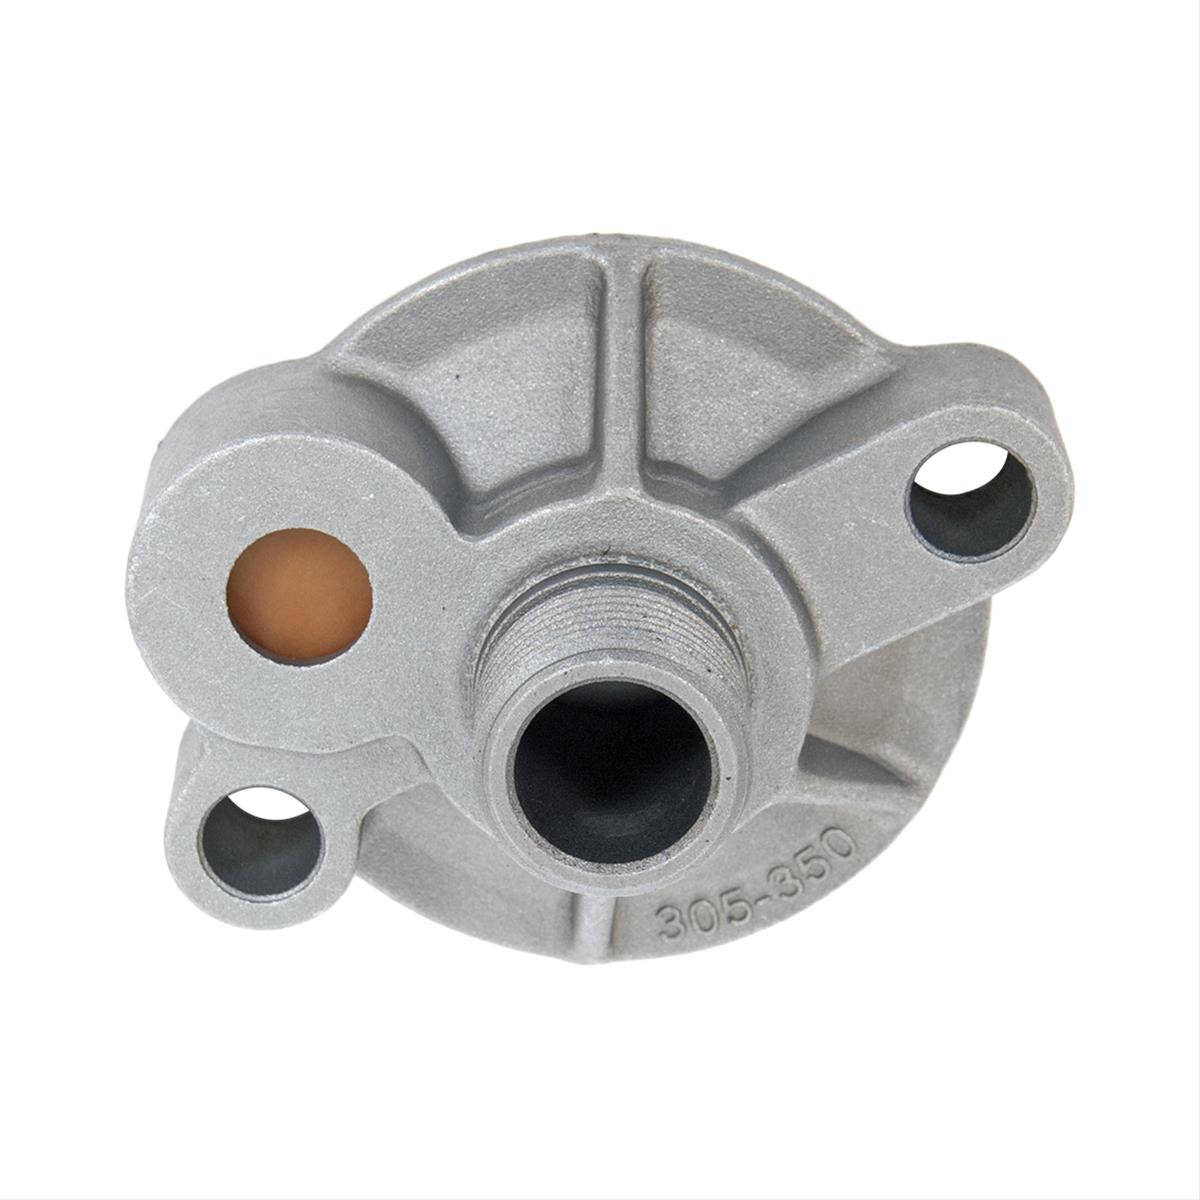
I said what the he11 & ordered a set of these:
They're listed as fitting 1977-1990 Caprice, so (hopefully) shouldn't need too many mods to fit my wagon.
They were only $115, and are made with 16 gage wall tubing, while most headers in this price range (and higher) are made with 18 gage.
Yes, I know, I should have got Clear Image Tri-Y's instead.
I'll keep you guys posted on the install, stay tuned...
 
#4 ·
No, my current car has stock manifolds.

Years ago I went through the 'cheap' header ordeal using the afterburner headers from Flowtech. They fit much better than any of the generic long tubes from Summit, Jegs, etc. Installed them on my wagon and another guys SS. The thread still exists but the pictures are long gone.
 
#5 ·
Looking at those jegs headers, I think the #1 primary is going to be close to the drivers side motor mount shell. Clearance from the pass. side frame rail may be tight too (esp. if motor mounts are worn).
I'll keep you guys posted on the install, stay tuned...
Looking forward to it.
 
#11 ·
The adapter was from a core engine at the shop, but it looks like GM used the same adapter from about 1968 until 2000, so finding a salvage yard part should be pretty easy. If not, here is a cheap one from Summit-
 
#14 · (Edited)
Update: almost have the driver side header in, #1 primary is about 1/8" from engine side of engine mount.
Header hits the frame stiffener between k-member and side rail. I didn't expect these to fit perfectly, but they're listed as fitting <1990 B-cars, so shouldn't be interference with the frame.
I guess I'll bend/hammer it to get clearance.
 
#20 · (Edited)
To clarify, the 1968 and up " typical sb chev" adapter doesn't a gasket.


LT1 cooler adapter does,
LT1 non cooler ofset adapter, 98 % sure it does

One thing to remember, any gasket hanging inboard of the adapters, is on the "clean side" If unsupported extra comes loose, it goes striaght into the bearings.
 
#21 ·
I got the driver side header in. The passenger side just hits a break line on the frame rail when bolted down. I think this is why:
193421

When I unscrewed the nut of bolt indicated above, I was able to easily pull bolt out by hand without lifting the engine.
Bad engine mount?
I don't know if this is in the scope of this thread, but Rockauto lists an AC Delco mount for $87 & a Pioneer (2nd most expensive) mount for $6. Is the huge premium for Delco mount worth it?
Do both motor mounts have to be disconnected in order to lift engine enough to get only one out?
Anybody have experience with polyurethane engine mounts? How objectionable is the added vibration they impart? (please keep in mind car already has polyurethane body mounts)

Thanks
 
  • Like
Reactions: Dirtybob
#22 ·
The fact the bokt slides out is not an indicator of mount condition
There are tabs that support the weight.
The fact the bracket is touching the cross member DOES .
That mount is sooooo done!!

Nothing wrong with the cheapo mounts.
I have them but I do recommend filling the voids with urethane, like windshield urethane.

If you choose the poly mount route and they are not readily available, I I have a set here in BC
 
#25 ·
I bought a new set of lines from Carquest via work and the turned out just fine. First I bought a super cheap set from Rock Auto and do no recommend anyone else does. The low side fitting snapped right off when I connected the recovery machine to it.

Of course since you need to make custom bends due to the headers I would just have some custom lines made. We make them at work and can obtain special fittings and such. Most any semi truck repair facility should have the same abilities.
 
#28 ·
They make adapters that will connect to the compressor and then connect new lines to it. However I have never looked into it and they may not be available for our exact compressor. There are so many different ones it isn’t funny. The shops you went to either know there isn’t or didn’t want to research. My experience leans towards the latter, lol.

The factory lines can be “massaged” enough to work fine because I accomplished it on an Impala I put headers on. I just had to be patient and work slowly. On my car I didn’t care because the AC was dead. I don’t bother with it on my current wagon because the last thing I want to lose in central Florida is my AC.
 
#31 ·
Headers are installed. It was painful.
I think these are dimensionally identical (?) to Summit 9001.
Require bending of AC lines. I have SPC A-arms, running stock ones would most likely cause chafing of AC line, especially with camber shims.
trimming frame braces, moving left front brake line a bit. Motor mounts need to be in good condition.
I hacked up some tin to shield things from heat, just in case (AC lines, connector on PS pump, starter, 02 sensor wiring, knock sensor wiring). I made up some over-valve -cover spark plug wires. I rerouted starter and R knock sensor wiring to go in front of and under engine mount
As seen in photos above, driver side header is lower than passenger side.
One good thing is that factory cross-member doesn't need modification, provided you don't need cats (pipe needs to be bent around it). Photos to follow
 
  • Like
Reactions: Dirtybob
#32 ·
I bought a set of these headers, and they are a royal PITA to install on an LO5 They hit the front suspension braces, and the rear bolts on each pipe on both sides, except the rear on the driver's side are nearly impossible to tighten. The design is easy for the manufacturer to make for a more friendly installation. Narrow them at the bottom by 1/2 inch, and make clearance for the bolts at all stations. I am tempted to design my own headers and produce them.
 
  • Like
Reactions: Caddylack